
Squarebody Door Panel Fitment Guide for Your Truck
A door panel that looks right in a product photo can still be wrong for your truck. That is the problem this Squarebody door panel fitment guide is meant to solve. On these trucks, a clean install comes down to more than the year on the title. Door style, factory hardware, prior-owner modifications, window setup, and how the panel mounts all matter.
If you are trying to add speakers without cutting up a good original door panel, fitment matters even more. A panel built around the Squarebody door is a whole different deal than a universal speaker pod screwed wherever it happens to clear.
Start With the Truck, Not the Listing
Squarebody is a broad name. It covers 1973-1987 conventional-cab Chevy and GMC pickups, plus the 1973-1991 K5 Blazer, GMC Jimmy, and Suburban. The 1987-1991 R/V trucks are part of that later SUV and Suburban range too. That does not mean every interior part is automatically interchangeable across every one of them.
Before ordering a door panel or lower speaker panel, identify the truck by its actual body and door setup. A C10, K10, C20, and K20 may share plenty of cab-related features within the right range, but body style and previous repairs can still change what you are working with. The same goes for Blazers, Jimmys, and Suburbans. Confirm the application shown by the part builder instead of assuming that Squarebody means one-size-fits-all.
The truck's model year is the starting point, not the final answer. Look at the door itself. Is it an original-style door? Has it been swapped? Does it still have factory-style trim and handles? A lot can happen to a truck over 40-plus years.
Check What Is Already on Your Door
Take five minutes to inspect both doors before you buy anything. It can save you from ordering a part that is technically correct for the truck but wrong for the doors currently on it.
First, look at the main factory door panel. Is it original, an aftermarket replacement, custom upholstered, warped, cut up, or missing altogether? A no-cut lower speaker panel is designed to work with an intact main panel. If somebody has already hacked large speaker holes into the lower section, the new panel may still mount, but it will not undo old damage behind it.
Then check the parts that physically move or stick out through the panel: the inside door handle, window crank or power-window switch, door lock knob, armrest, pull strap if equipped, and manual mirror control. These are the areas where a poorly thought-out universal panel causes trouble. It may look fine until the crank hits it, the handle will not fully move, or the panel blocks access to a mounting screw.
Also open and close the door while watching the lower area. Make sure there is no loose weatherstrip, previous speaker wiring, or bent metal that could interfere with the panel sitting flat. A lower panel should follow the door cleanly, not get forced into place with fasteners.
Manual windows versus power windows
This is one of the first things to verify. Manual window cranks need room to rotate through their full travel. Power-window trucks do not have that same clearance issue at the crank, but switch location and wiring still need to be considered.
Do not assume a panel fits both setups unless the product application specifically says it does. The cleanest way to avoid trouble is to compare your door hardware to the fitment photos and instructions before the panel is ordered.
Factory door condition matters
Squarebody doors are tough, but they are not all straight and solid anymore. A sagging hinge, loose inner structure, missing clips, or a door shell that has been repaired poorly can affect how any trim piece lines up. Fixing basic door issues first makes the finished install look better and keeps the panel from becoming the part that has to hide every other problem.
What a No-Cut Speaker Panel Should Actually Do
Adding door speakers to an old truck sounds simple until you start looking for a place to put them. The factory door panel was not designed around modern 6.5-inch speakers, and cutting original panels is permanent. For a survivor truck, a clean driver, or a build with good original interior pieces, that is a hard choice to undo.
A purpose-built lower speaker panel should mount below the main panel, use the available space correctly, and let you add sound without carving up the factory trim. It should also account for speaker depth, door movement, and the fact that these trucks get used. Your door panel should not become a vibration machine every time the bass hits or a snag point every time you climb out.
At Blazin' Biddles Off-Road, our lighted lower door speaker panels are built around that exact problem. They are Squarebody-specific, made for 6.5-inch speakers, and designed as a direct-fit, no-cut addition rather than a generic pod adapted to the door. That is the difference between adding an upgrade and making a permanent compromise.
Still, no panel can ignore the speaker you choose. A 6.5-inch speaker is not always the same depth from one model to the next. The mounting depth, basket shape, magnet size, and terminal location can vary quite a bit.
Speaker Depth and Window Clearance
The speaker may fit the panel opening and still create a problem inside the door. That is why speaker depth needs to be checked before the install, especially on manual-window doors where the regulator moves through the lower door area.
Measure the speaker from the mounting surface to the deepest point of the magnet. Then compare that measurement with the clearance available for the panel and door. If the manufacturer provides a maximum mounting depth, follow it. Do not guess based on another speaker that looked about the same.
A few details are easy to miss. Oversized magnets can get close to window-regulator parts. Speaker terminals can point directly at the glass path or internal bracing. Thick adapter rings and deep grilles can push the speaker outward farther than expected. If you are running a higher-end component speaker, confirm the woofer's actual dimensions, not just the advertised size.
The best time to find an interference issue is with the door panel still off. Test-fit the speaker, cycle the window completely up and down, and make sure the wiring cannot get caught by the regulator. This is not overthinking it. It is how you avoid pulling the door back apart after the first drive.
Wiring Is Part of Fitment Too
A panel can bolt on perfectly and still be a bad install if the wiring is pinched, loose, or routed through the wrong spot. Door wiring has to survive constant opening and closing. Run it where it is protected, use a proper pass-through method at the door jamb, and leave enough slack for full door movement without making a loop that can get caught inside the door.
Keep speaker wiring away from sharp sheet metal and moving window parts. Use grommets where wire passes through metal. Secure it so it cannot rattle against the door shell. Small details like that are what separate a clean system from one that starts buzzing or cutting out six months later.
If the panel includes lighting, plan the wiring before mounting the panel for good. Decide where the power, ground, and control wiring will run. Test the lighting and speaker operation before the final fasteners go in. It is a lot easier to correct a polarity issue or loose connection while everything is still accessible.
A Squarebody Door Panel Fitment Checklist
Before you order or install, confirm these four things: your truck's year and body style match the stated application; the doors and factory hardware match the panel's requirements; your speaker depth and terminals clear the window and inner door parts; and your wiring plan will not interfere with door movement.
That checklist is simple, but it catches most of the problems we see. It also keeps you from modifying a part just to make an unverified setup work. If something does not line up with the application details, stop and ask before drilling, cutting, or forcing it.
Install for the Long Haul
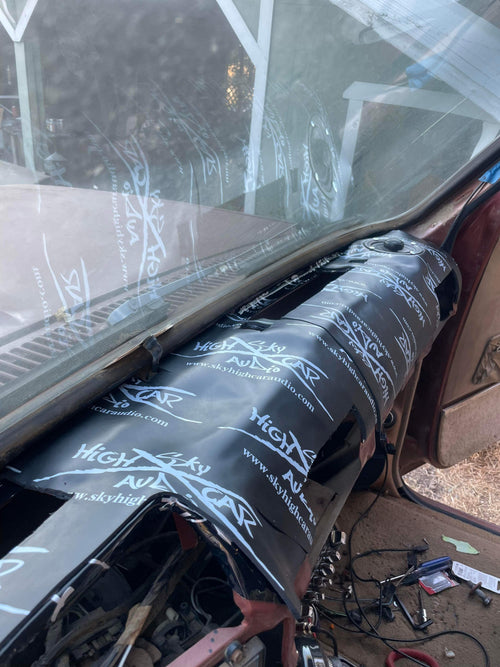
A clean panel install starts with a clean door. Pull the main panel carefully, remove old loose insulation and debris, and inspect the moisture barrier if the truck still has one. If you are adding sound deadener, apply it to clean metal and focus on the large flat areas that tend to resonate. You do not need to cover every inch of the door to make a useful difference.
When mounting the lower panel, do not overtighten the hardware. Old plastic, fiberglass, composite pieces, and aging door metal all have limits. Snug and properly aligned beats cranked down until something cracks. Step back after the install and look at the gaps, the panel angle, and how it follows the door line. Then operate the handle, lock, and window again before calling it done.
The right panel should look like it belongs there, work with the truck's door instead of fighting it, and leave you with an interior you are still proud to look at years from now.
Need The Parts For This Build?
We carry everything mentioned in this guide — picked and backed by real Squarebody owners.
0 Comments
Leave a Comment