
Squarebody Wiring Repair Without the Guesswork
A Squarebody can run dead reliable for years, then one loose ground or old butt connector leaves you with no headlights, a weak fuel gauge, or a stereo that cuts out every time you hit a bump. Squarebody wiring repair is usually not about finding one dramatic failure. More often, it is tracking down 40-plus years of heat, moisture, vibration, questionable repairs, and wires that have been added and abandoned along the way.
The good news is these trucks are simple enough to diagnose if you slow down and test instead of guessing. The bad news is that a lot of them have been worked on by several owners with different ideas about what counts as wiring repair.
Start Squarebody Wiring Repair With the Right Information
Before opening up a harness, get a wiring diagram that matches your truck as closely as possible. Do not assume every Squarebody diagram is the same. A 1973-1987 conventional-cab pickup is not wired exactly like a 1973-1991 K5 Blazer, GMC Jimmy, or Suburban. The 1987-1991 R/V trucks also need to be treated as their own group, especially around engine and fuel-system wiring.
Match the year, model, engine setup, and options where you can. Air conditioning, factory gauges, power windows, rear defrost, dual tanks, and TBI all change the picture. A close diagram is better than no diagram, but it can still send you chasing the wrong wire color or connector cavity.
You do not need a fancy lab full of tools. A decent digital multimeter, a test light, wire strippers, proper crimpers, heat-shrink tubing, terminals, split loom, and a small assortment of fuses will handle most jobs. A power probe can save time, but it does not replace understanding what circuit you are testing.
Disconnect the negative battery cable before opening powered circuits or repairing damaged wiring. When you need to test a live circuit, reconnect it intentionally and keep loose tools away from the battery, starter wiring, and exposed terminals.
Find the Actual Failure Before Cutting Anything
The fastest way to make a small electrical issue into a bigger one is cutting wires because they look suspicious. Start with the symptom and work backward.
If the left headlight is out but the right one works, you are probably looking at a bulb, connector, local ground, or branch of the lighting circuit. If both headlights are dead, look upstream at the switch, fuse panel, feed wire, bulkhead connector, and grounds. That simple comparison keeps you from tearing into half the truck when the problem is sitting at one socket.
Use voltage-drop testing when a circuit has power but does not work under load. A meter may show 12 volts at a connection with no load, yet that same corroded connection can fall flat when the headlights, blower motor, or amplifier asks for current. Test the power side and ground side with the circuit switched on. Voltage where it should not be tells you there is resistance in the path.
Wiggle testing also earns its keep on old trucks. With the circuit operating, gently move the harness near the fuse panel, steering column, firewall pass-through, door jamb, headlight buckets, and any old accessory wiring. If the problem comes and goes, you have narrowed down the area without taking a blind swing at it.
Grounds Cause More Trouble Than They Get Credit For
Squarebody electrical problems love bad grounds. Rust, paint, undercoating, loose sheet-metal screws, and corrosion under a terminal can all turn a good circuit into a strange one. Gauge readings that change when you turn on the headlights, dim lights, slow motors, popping speakers, and intermittent accessories can all point to a poor ground.
Check the battery-to-engine ground, engine-to-body ground strap, body grounds, and the local ground near the component that is acting up. The connection needs clean bare metal, a solid fastener, and a terminal that is not green, cracked, or hanging on by a few strands.
Do not rely on a random dash screw for high-current accessories. An amplifier, auxiliary lighting, or electric fan needs a properly sized power and ground path. For audio work, the ground should be short, secure, and tied to clean chassis metal. A bad ground can make a good audio system sound like the truck is falling apart.
Repair Wire the Way It Will Hold Up
Once you have found the bad section, repair only what needs repair. If the copper is bright and flexible under the insulation, you may only need to replace a terminal or clean a connector. If the wire is green, stiff, swollen, melted, or brittle several inches back from the damage, cut until you reach clean copper.
Use the same wire gauge or larger when replacing a section. Going smaller creates heat and voltage loss. Color matching is helpful for the next guy, especially if you are repairing a factory harness, but correct gauge, secure connections, and good routing matter more than chasing a perfect color match.
For most under-dash and interior repairs, quality crimp connectors with adhesive-lined heat shrink work well when installed with the right crimp tool. For a harness section that sees vibration, moisture, or heat, a properly made sealed splice is worth the effort. Twist-and-tape repairs are temporary at best. Electrical tape dries out, unravels, and holds moisture where you do not want it.
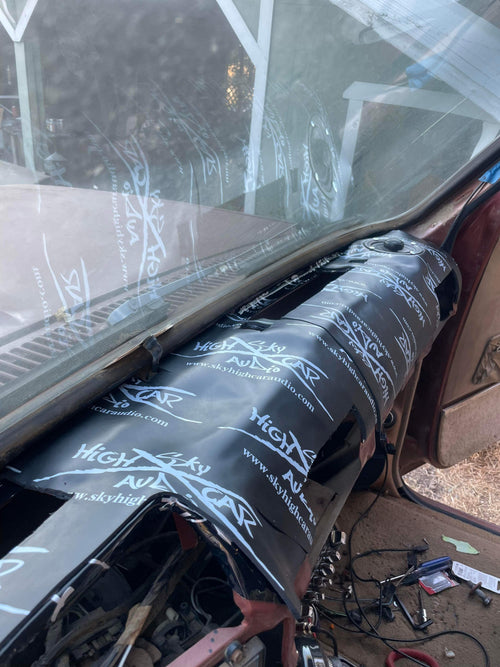
Avoid stuffing several wires into one undersized connector. If a circuit branches, use a connection method designed for that number and size of wires. Also leave a little service slack. A harness pulled tight between the door, dash, or firewall will eventually fail again.
When you are done, protect the repair with loom or abrasion-resistant tape and route it away from sharp metal, exhaust heat, pedals, steering shafts, and moving window parts. A repair is not finished until the harness is secured. A zip tie can be useful, but do not cinch it so tight that it cuts into the insulation.
Be Careful Around the Fuse Panel and Fusible Links
The fuse panel tells you a lot about the truck's history. Look for overheated terminals, loose fuse clips, melted plastic, oversized fuses, and add-on wires jammed into places they do not belong. A fuse that keeps blowing is doing its job. Installing a larger fuse may get the accessory working for a minute, but it can turn the wire into the fuse instead.
Fusible links deserve the same respect. These are short protective sections of wire used on certain high-current feeds, often near the starter or other main power connections. If one is burned, find out why before replacing it. Do not substitute standard wire or bypass it. The circuit needs protection sized for the job.
If the truck has years of added lighting, trailer wiring, electric accessories, or audio equipment, consider separating those loads from the factory wiring. A properly fused auxiliary feed and relay setup is cleaner and safer than stacking more demand onto an old factory circuit.
Old Accessory Wiring Is Often the Real Problem
A lot of Squarebodies have lived several lives. You may find a CB radio lead, an alarm-system splice, trailer-brake wiring, old fog-light wiring, a dead amplifier kit, or a mystery switch that has not done anything since 1998. Those add-ons are not automatically wrong, but they need to be inspected honestly.
Look for wires passing through bare holes in the firewall, unfused power wire tied directly to the battery, speaker wire used as power wire, loose grounds, and connections wrapped in tape. Remove abandoned wiring when you can verify it is no longer needed. Leaving dead circuits behind makes future troubleshooting harder and gives corrosion more places to start.
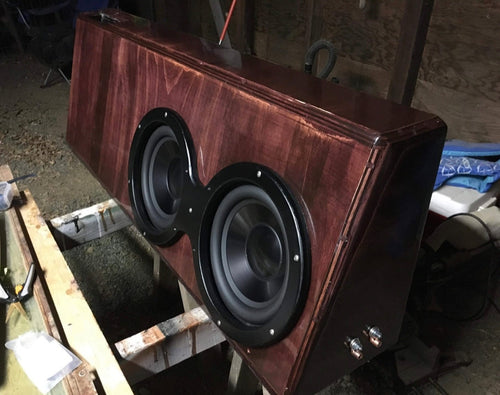
This matters even more when adding a modern audio system to a Squarebody. Run dedicated fused power where it belongs, use a solid ground, protect wires through the firewall, and keep signal wiring away from power wiring where practical. A clean install is not just about looks. It is how you avoid noise, voltage problems, and damage to the truck.
Know When to Repair and When to Replace
A few damaged wires do not mean the whole harness is junk. Repair makes sense when the issue is isolated, the remaining insulation is healthy, and connectors are still serviceable. Replacement starts making more sense when the harness has widespread brittle insulation, heat damage, corrosion, hacked-in accessories, or repeated failures in different areas.
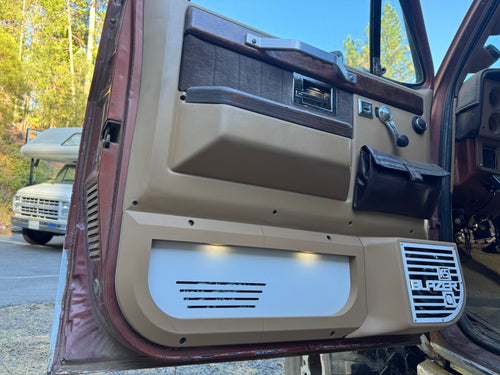
Take your time around factory door panels and dash trim. There is no prize for making a quick repair that creates new rattles, broken clips, or extra holes in original parts. Squarebody interiors are getting harder to replace, and clean no-cut work always pays off.
A wiring problem can be frustrating, but it is rarely magic. Start at the symptom, verify power and ground under load, make a repair that is sized and protected correctly, then test it before putting the panels back on. Do that, and your Squarebody will spend less time flickering in the driveway and more time doing what it was built to do.
Need The Parts For This Build?
We carry everything mentioned in this guide — picked and backed by real Squarebody owners.
0 Comments
Leave a Comment