How to Fix Squarebody Speaker Wiring Right
Share
That new speaker can be perfectly good and still sound terrible in a Squarebody. One side may be weak, the bass may disappear when both speakers play, or you may get a steady alternator whine that follows engine speed. Before blaming the head unit or buying more parts, take the time to fix Squarebody speaker wiring at its source. These trucks are old enough that previous-owner stereo work is often the real problem.
A 1973-1991 Chevy or GMC truck may have seen several radios, hacked connectors, door-panel repairs, and questionable splices over the years. The cleanest repair is usually not the fastest one. It is the one that gives you solid connections, correct polarity, protected wire routing, and a setup you can service later.
Start by Finding Out What You Actually Have
Do not assume the wire behind the radio is factory, or that a wire color means the same thing it did when the truck left the assembly line. A lot of Squarebodies have had their original plugs cut off. Others have adapters mixed with aftermarket wire, old alarm wiring, or speaker leads that were extended with whatever was on hand.
Pull the radio and inspect every connection you can reach. Look for twisted-and-taped splices, household wire nuts, corroded butt connectors, wire that has turned green under the insulation, and leads pinched against sharp metal. If the radio powers up but a speaker does not play, the failure is often at one of those connections rather than inside the speaker itself.
Then remove the speaker or access panel and inspect the other end. A wire can look fine at the dash and be broken where it passes into the door, under the sill plate, or behind the kick panel. On trucks that have lived outdoors or seen wet boots and muddy floors, low wiring runs deserve extra attention.
Before cutting anything, label the wires. Masking tape and a marker will save you from guessing later. Mark left front, right front, rear, positive, and negative as you verify them. Even if you plan to replace every run, those labels help you understand what was done before you got there.
Test Before You Replace Squarebody Speaker Wiring
A basic multimeter is enough to find most wiring problems. With the radio disconnected, check each suspected speaker pair for continuity from the radio opening to the speaker location. A wire that reads open has a break somewhere in the run. A wire that shows continuity to chassis ground may be pinched or rubbed through.
You can also test the speaker itself at its terminals. Most common car-audio speakers will show a low resistance reading, usually around their rated impedance rather than zero or infinite resistance. A reading near zero can mean a shorted voice coil. No reading at all usually means an open speaker or disconnected terminal.
The quick 9-volt battery pop test is useful when the speaker is disconnected from the radio or amplifier. Briefly touch the battery to the speaker leads and listen for a soft pop. Watch the cone: when the battery positive touches the speaker positive, the cone should move outward. Do the same test on both left and right speakers so you can keep their polarity matched.
Do not use that test on speakers while they are connected to an amplifier. And do not leave the battery connected. This is a momentary test, not a power source.
Decide Whether Factory Wire Is Worth Keeping
Factory speaker wire can work for a simple radio-and-speaker setup if it is intact, correctly identified, and not corroded. There is nothing wrong with using it when it checks out. That said, age and unknown repairs make fresh wire a smarter move on many builds.
Running new wire is especially worth it if you are adding an external amplifier, installing speakers in new locations, chasing an intermittent issue, or rebuilding an interior already apart. New wire removes the guesswork. It also lets you route each channel cleanly instead of trying to make 40-year-old wiring fit a modern system.
For typical door or dash speakers on head-unit power, quality 16-gauge stranded copper speaker wire is a solid choice. For higher-power amplified speakers, 14-gauge may make sense depending on power level and wire-run length. Bigger is not automatically better if it creates a bulky install that will not fit through boots, panels, or connectors. Use wire that fits the job and protect it properly.
Avoid copper-clad aluminum wire if you can. It is cheaper, but it is less forgiving in a truck that sees vibration, temperature swings, and moisture. Good stranded copper wire costs more up front, but it is easier to work with and holds up better.
Run New Wires Like You Want Them to Last
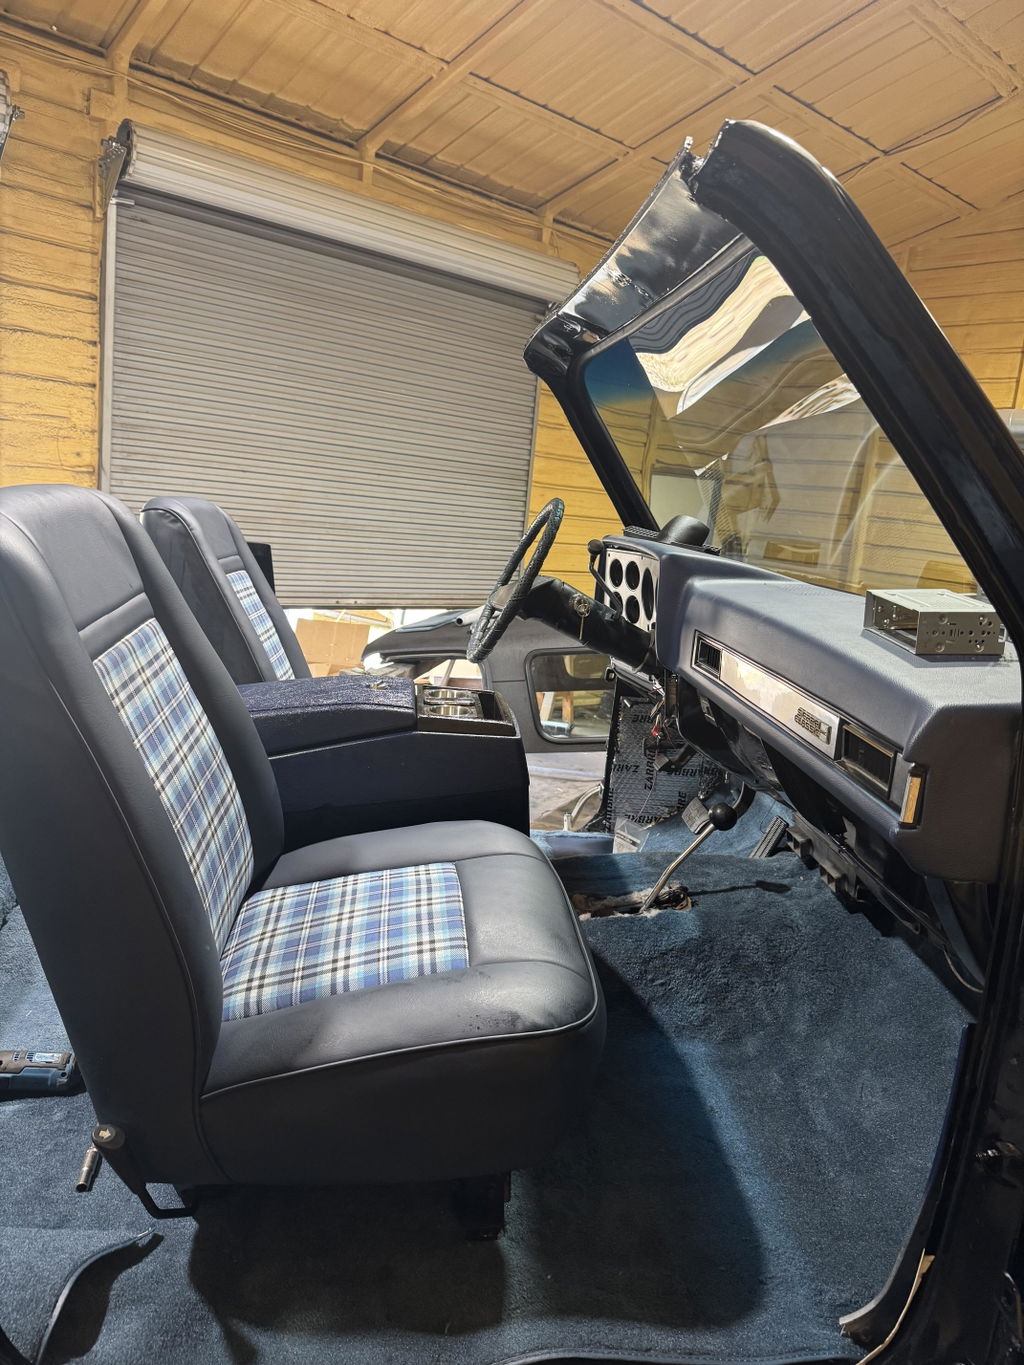
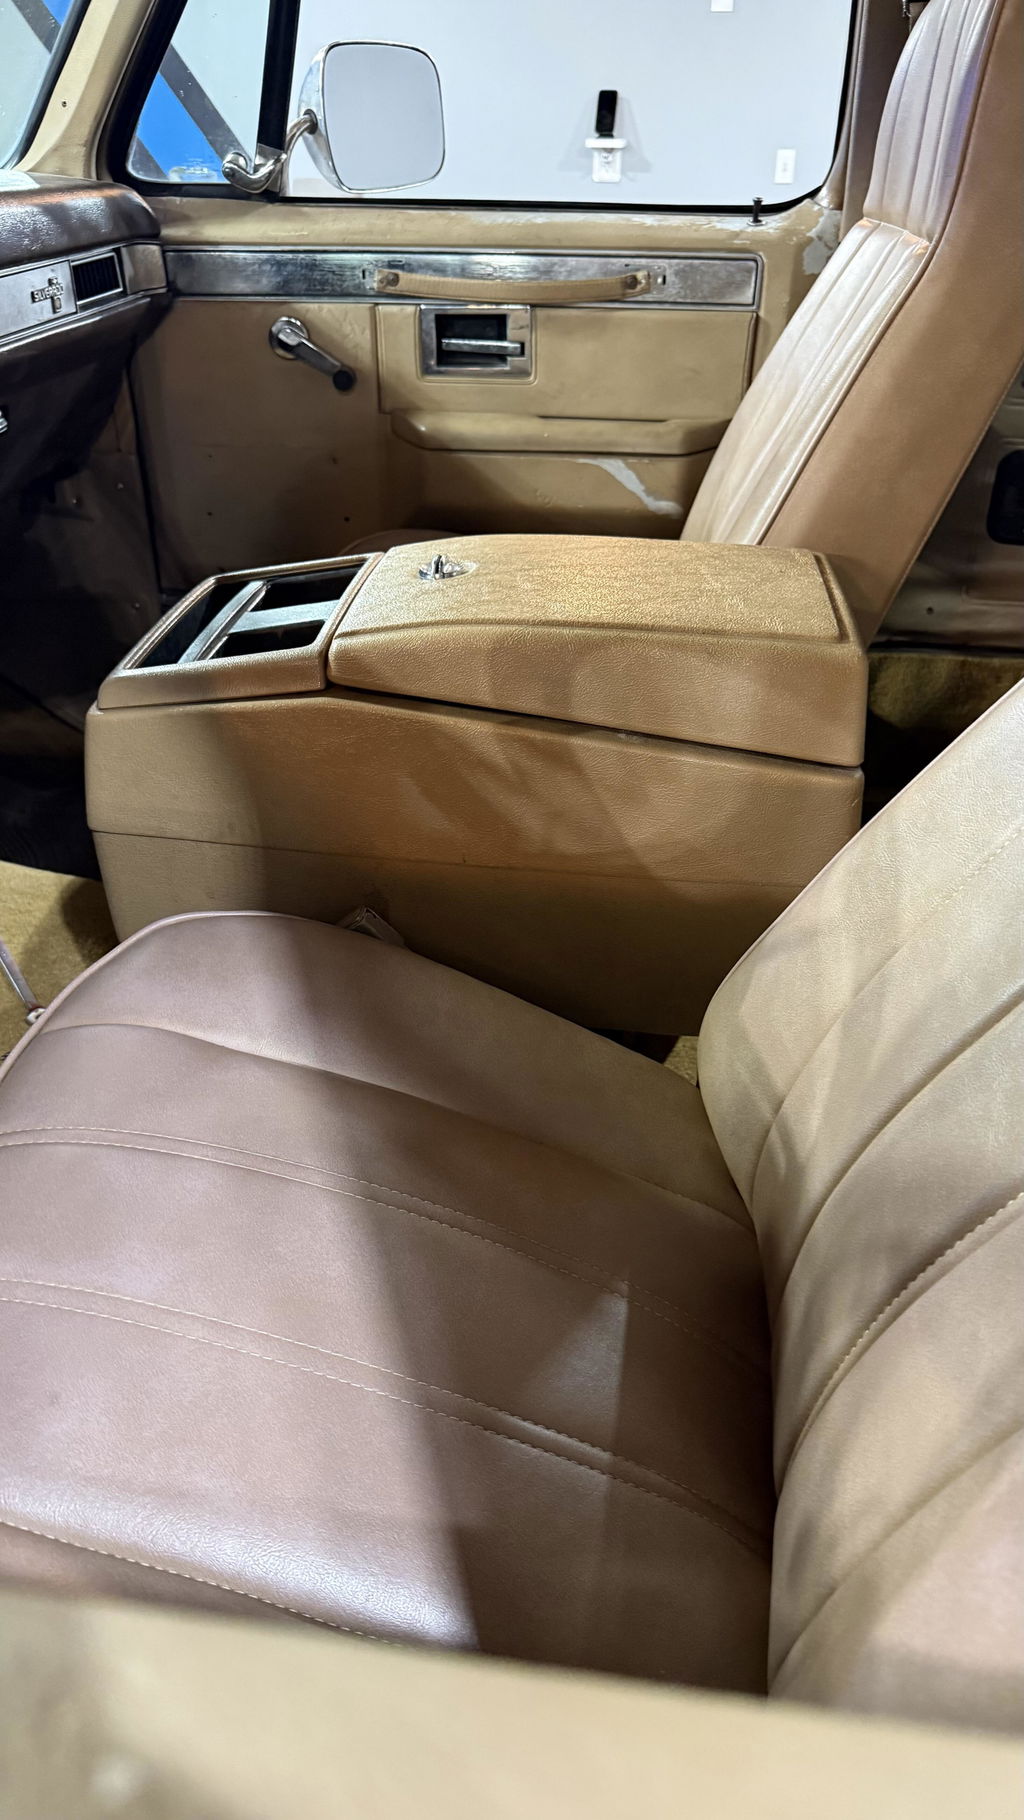
The cab of a Squarebody gives you plenty of places to hide wire, but also plenty of sharp edges and moving parts. Keep speaker wire away from accelerator linkage, parking-brake hardware, steering-column parts, and any area where a pedal or seat track can catch it.
When passing through metal, use a proper grommet. Do not count on electrical tape around a drilled hole to protect the insulation. Tape shifts. Metal does not. Add split loom where wire runs under carpet, along a sill, through the lower dash, or anywhere it can rub.
Door wiring takes extra care. The door opens and closes thousands of times, so a bare wire shoved through a hole will eventually fail. Use a flexible rubber boot or protected pass-through when possible, leave enough slack for full door movement, and secure the wire so it cannot pull tight at either end.
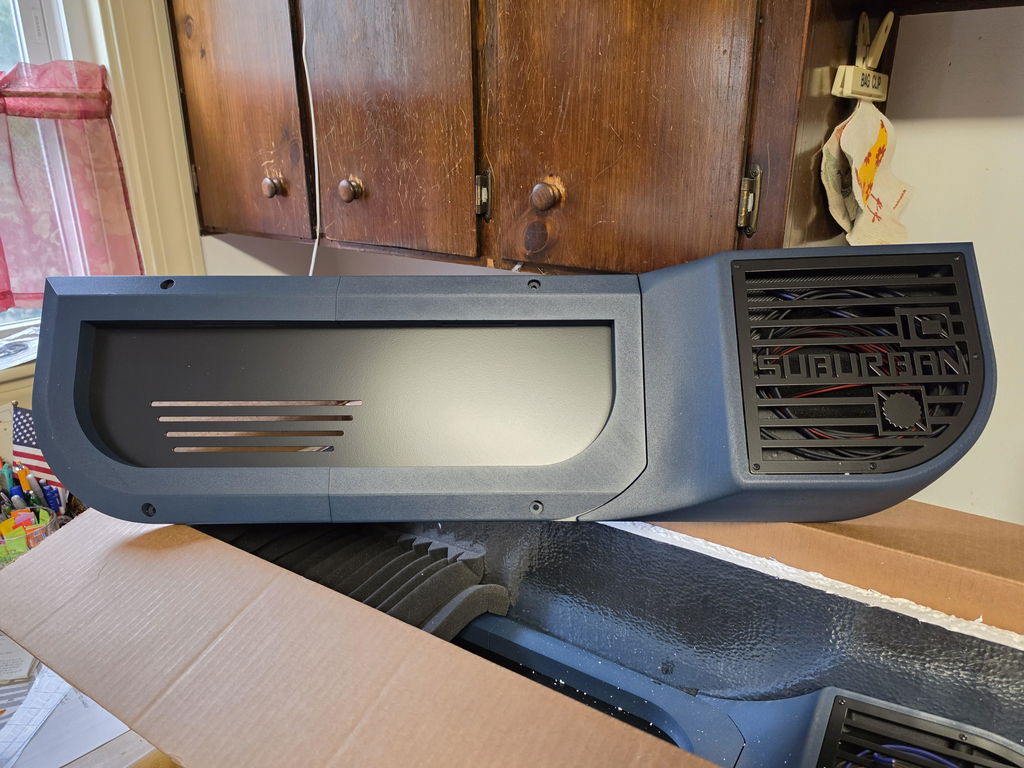
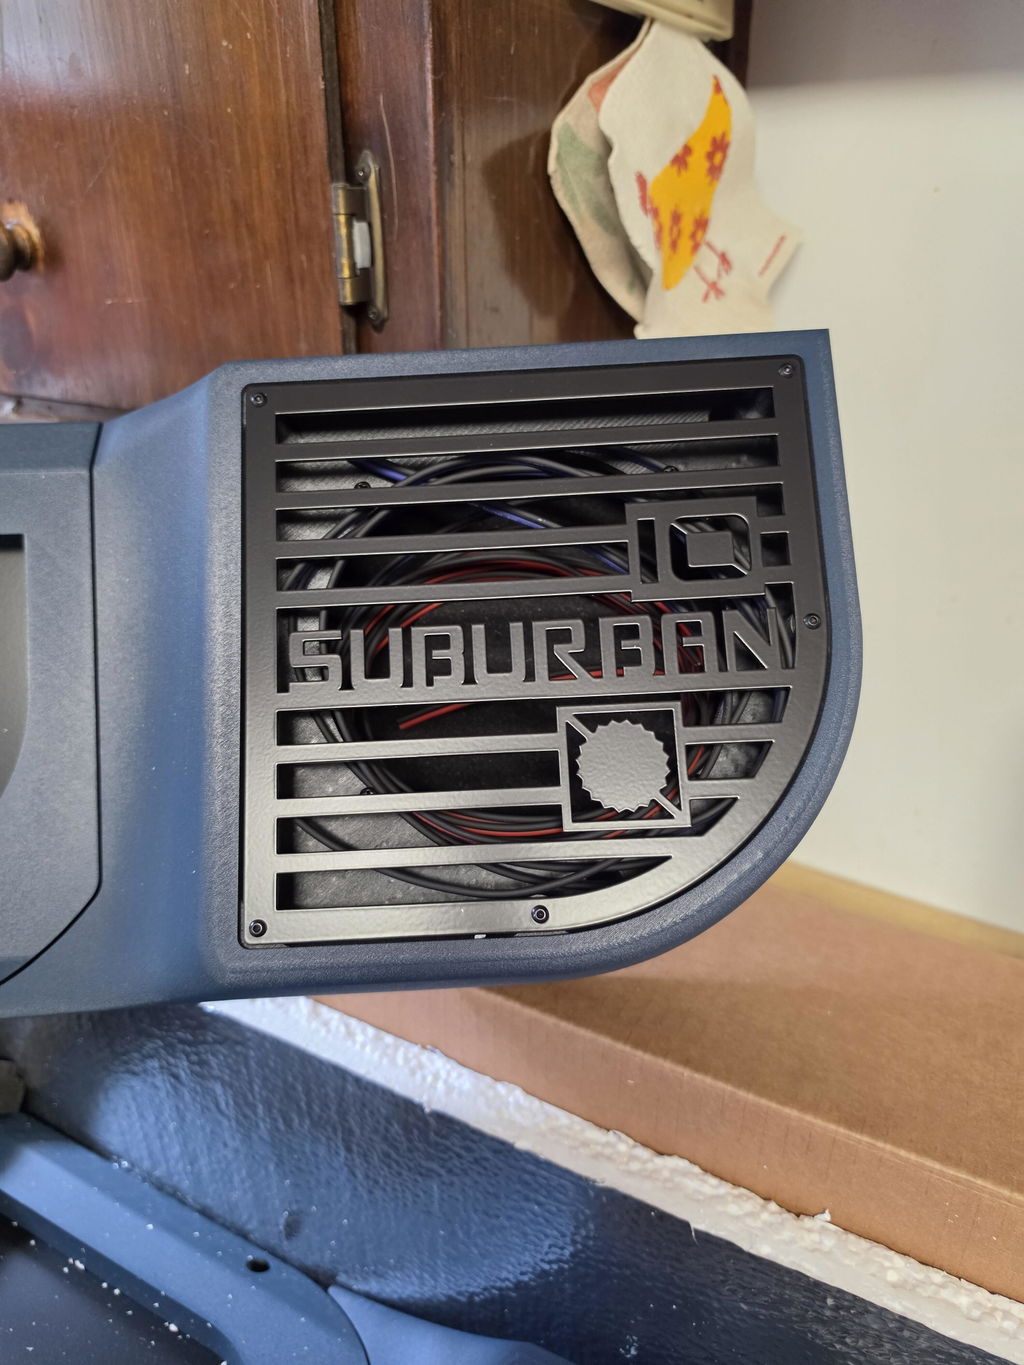
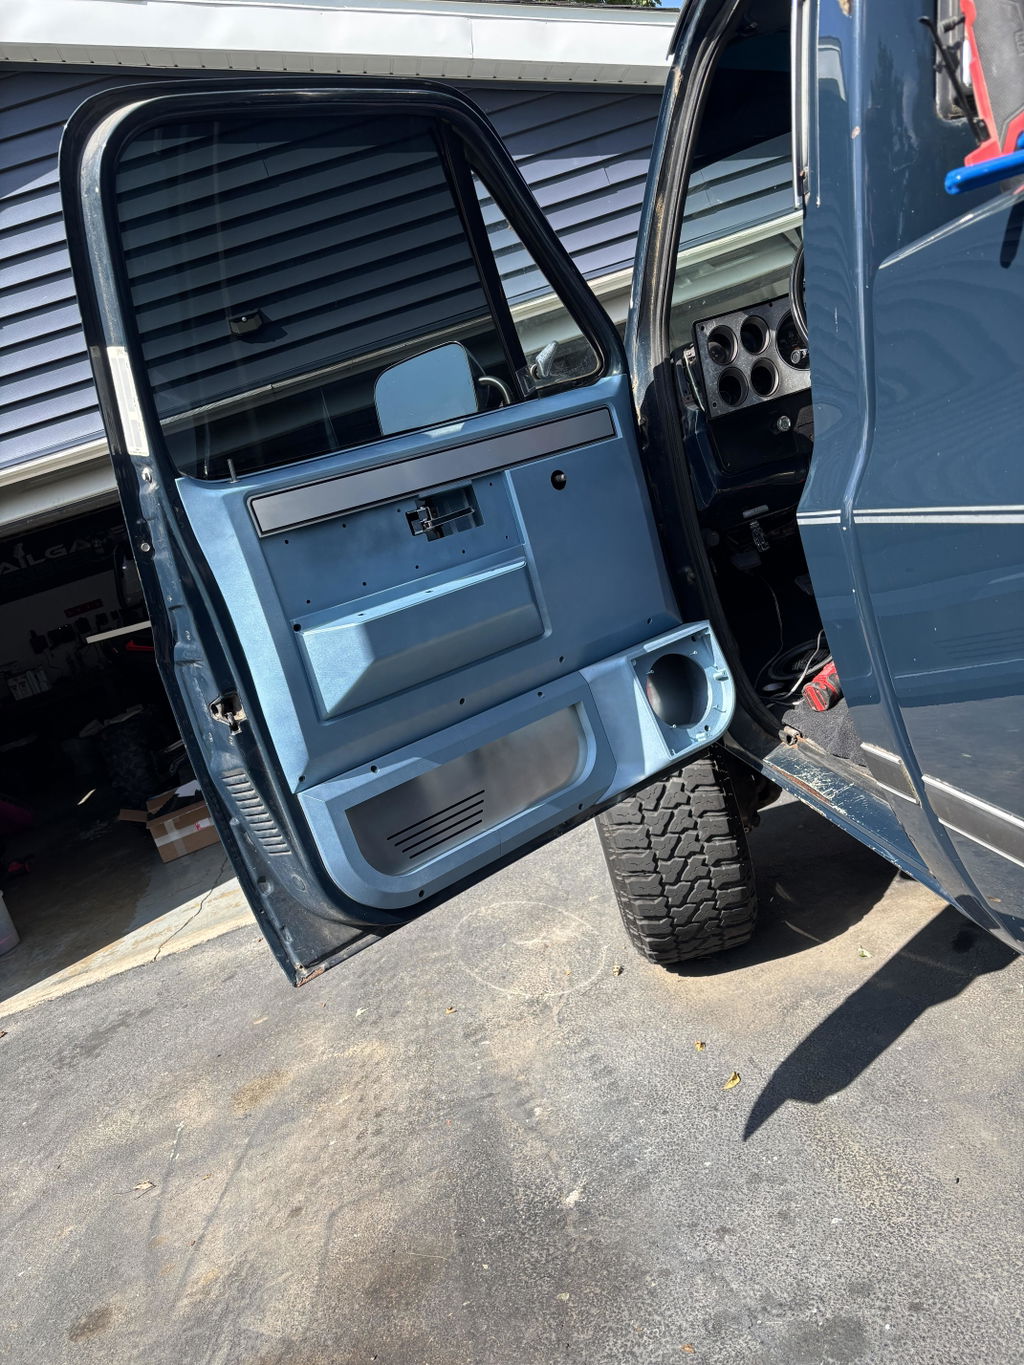
This matters even more when adding lower door speakers. A Squarebody-specific, no-cut speaker panel can keep you from hacking up an original door panel, but the wiring behind it still needs to be routed with the window mechanism, door latch rods, and weather barrier in mind. Cycle the window by hand before reinstalling the panel. If the glass or regulator can touch the wire, reroute it now.
Polarity Is Not a Small Detail
Every speaker has a positive and negative terminal. If one speaker is wired backward, it will still make sound. The problem is that the cones move opposite each other. That puts the speakers out of phase, and the result is often thin sound with weak bass and a strange center image.
Keep the same polarity from the radio or amplifier all the way to every speaker. Pick a convention and stick to it. Mark the positive lead at both ends before routing the wire, especially when both conductors are the same color with only a small stripe or ridge to tell them apart.
If your system sounds clear with either speaker playing alone but loses bass when both play together, check polarity first. It is one of the most common mistakes in old-truck audio work, and one of the easiest to fix.
Keep Signal Wiring and Power Wiring Apart
Speaker wire is less sensitive to noise than low-level RCA cables, but routing still matters. If you are adding an amplifier, run the main power cable on one side of the truck and RCA signal cables on the other whenever the cab layout allows. Cross them at a 90-degree angle if they must meet.
Amplifier grounds need clean, bare metal and a short path to the body or chassis. A loose, painted, rusty, or thin ground connection causes all kinds of trouble, including noise, shutoffs, and weak output. The ground cable should be sized appropriately for the amplifier and secured with solid hardware, not a self-tapper driven into questionable sheet metal.
Do not use speaker wire as a power or ground wire. Do not share random factory grounds because they are nearby. And do not run unfused amplifier power wire through the firewall. Protect it with a grommet and place the fuse close to the power source.
Make Every Connection Serviceable
A connection hidden behind a door panel should be better than a connection you would accept on a workbench. Crimp connectors can work well when they are the correct size, crimped with a proper tool, and sealed with heat shrink. Solder-and-heat-shrink connections can also work well when the wire is supported so vibration does not fatigue it.
What does not hold up is a twisted splice wrapped in tape. It may play today, but it traps moisture, loosens with vibration, and becomes a diagnosis job later.
Leave enough service loop at the radio, speakers, and amplifier to remove components without stretching the harness. Do not leave a giant wad of wire either. Secure the harness with clips or zip ties, keeping ties away from sharp edges and moving parts.
Test It Before the Interior Goes Back Together
Before reinstalling the dash trim, sill plates, carpet, or door panels, test each channel by itself. Use balance and fade controls to confirm the radio is feeding the correct location. Listen at low volume first, then bring it up enough to catch rattles, distortion, or a loose terminal.
Check that the windows roll fully, the doors latch normally, and no wire is trapped by trim screws. If you installed an amplifier, confirm it turns on and off correctly and that there is no pop, whine, or hot wire after a few minutes of playing.
A clean wiring job does not have to be fancy. It just needs to be honest work: good wire, protected routing, solid connections, and no guessing. Do it once while the truck is apart, and your Squarebody will sound like it should every time you turn the key.