Squarebody Interior Lighting Build Done Right
Share
A good Squarebody interior lighting build should make the cab easier to use after dark without making a clean old Chevy or GMC look like a rolling arcade. That balance is where most builds either come together or go sideways. The best lighting is useful first, clean second, and bright enough to do its job without reflecting off the windshield all night.
These trucks left the factory with simple interior lighting, and that simplicity is part of their charm. But after 40-plus years, dome lights get weak, door switches stick, factory wiring has been patched a few too many times, and a dark cab gets old fast when you actually drive the truck. Whether yours is a daily-driven C10, a K10 that sees dirt roads, or a K5 Blazer built for weekends, planning the system before drilling holes pays off.
Start Your Squarebody Interior Lighting Build With a Purpose
Before buying strips, pods, switches, or color-changing controllers, decide what you need the lights to do. A truck used to haul tools, hunt, camp, or wheel at night needs usable white light in the floor area, behind the seat, and around the cargo space. A show-minded build may put more emphasis on accent lighting around speaker panels, a console, or under the dash.
Those are two different jobs. Trying to make one light do both usually leaves you with harsh white LEDs in your face or colored accent lighting that is too dim to help when you drop a bolt under the seat.
Think in zones: entry lighting when a door opens, courtesy lighting under the dash, console or cup holder lighting, rear cab lighting, and accent lighting. On Blazers, Jimmys, and Suburbans, the rear area deserves its own plan. A single dome light may be enough to find the seat belt, but it will not light up gear, coolers, tools, or a cargo drawer.
White light is best for utility. Warm white feels closer to an old-school incandescent cab, while cool white gives a cleaner, more modern look. Colored lighting works well as an accent, especially when it is tied into a speaker-panel build or console area. Just keep it low and out of the driver’s direct line of sight.
Keep the Factory Wiring Out of Trouble
Old trucks can have surprisingly good factory wiring when it has been left alone. They can also have brittle insulation, corroded connectors, old alarm-system splices, and mystery wires under the dash. Treat every circuit with some respect until you know exactly what it feeds.
Do not load a pile of added lights onto the original dome-light circuit just because it is easy to reach. LED lighting does not draw much power compared with old incandescent bulbs, but a clean installation still needs its own properly fused feed when you are adding multiple zones, controllers, or illuminated audio components.
Run power from a fused source, size the fuse for the actual wire and load, and place that fuse close to the power source. Use quality wire, solid terminals, heat shrink where it belongs, and loom anywhere wiring can rub. Under the dash of a Squarebody has sharp metal edges, moving pedal hardware, and plenty of places for a loose wire to become a problem later.
Grounds matter just as much. A ring terminal screwed into painted sheet metal is not a ground. Use a clean bare-metal location, a proper fastener, and make sure the connection is protected once it is tight. Bad grounds create flickering, dim lights, noise in an audio system, and troubleshooting headaches that waste a Saturday.
Use Door-Triggered Lighting Carefully
Tying added courtesy lights to the door switch is a great way to make the cab feel finished. Open the door and the footwell, lower door area, or console lights come on with the dome light. It feels natural because that is how the truck should work.
The catch is that many older GM courtesy circuits switch on the ground side. That means you need to understand whether your trigger is providing power or ground before connecting a controller or relay. Guessing here can leave lights on all the time, backfeed a circuit, or pop a fuse.
If you are not comfortable reading the circuit with a meter, keep the added lighting on a separate switched circuit or have the door-trigger portion wired correctly. A small relay can isolate the factory courtesy circuit from the added load and make the whole setup more dependable.
Put Light Where It Helps, Not Where It Blinds
The best hidden lights are usually mounted high enough to wash an area with light, but low enough that the LED itself is not visible from the driver’s seat. Under the lower edge of the dash is a solid place for front footwell lighting. Aim it down and toward the pedals and passenger floor, not straight back at the seat.
For rear-cab light in a pickup, mount it under the seat base, behind the seat, or under a rear speaker enclosure if the build allows it. In a Blazer, Jimmy, or Suburban, use the cargo area thoughtfully. Light aimed at the floor and side panels is easier on the eyes than a bare pod pointed straight into the cabin.
Door lighting takes more planning than it first appears to. The door opens and closes constantly, the window regulator needs clearance, and the wire path has to survive years of movement. If you run wiring into the door, use a proper protected pass-through and leave enough slack for full travel. Do not run a wire through a bare hole and hope tape holds up.
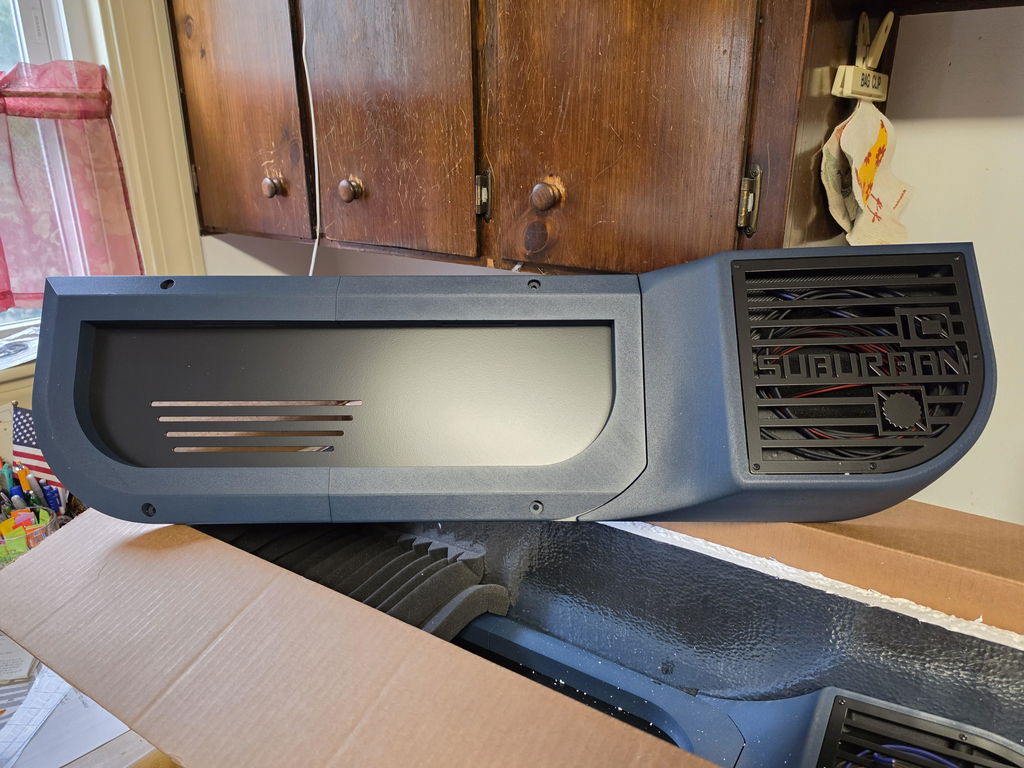
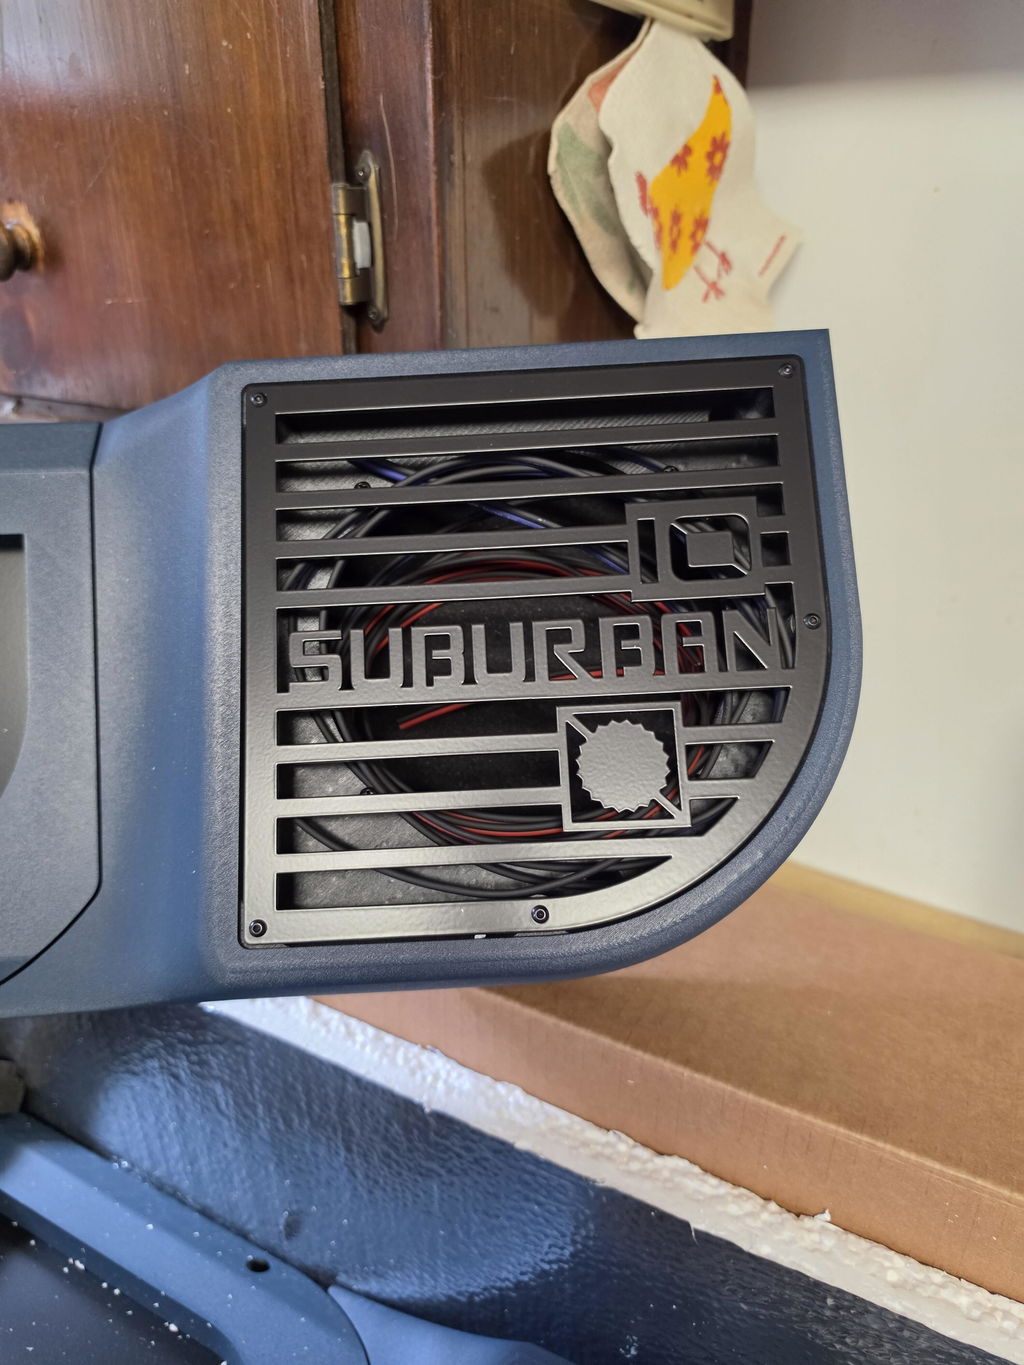
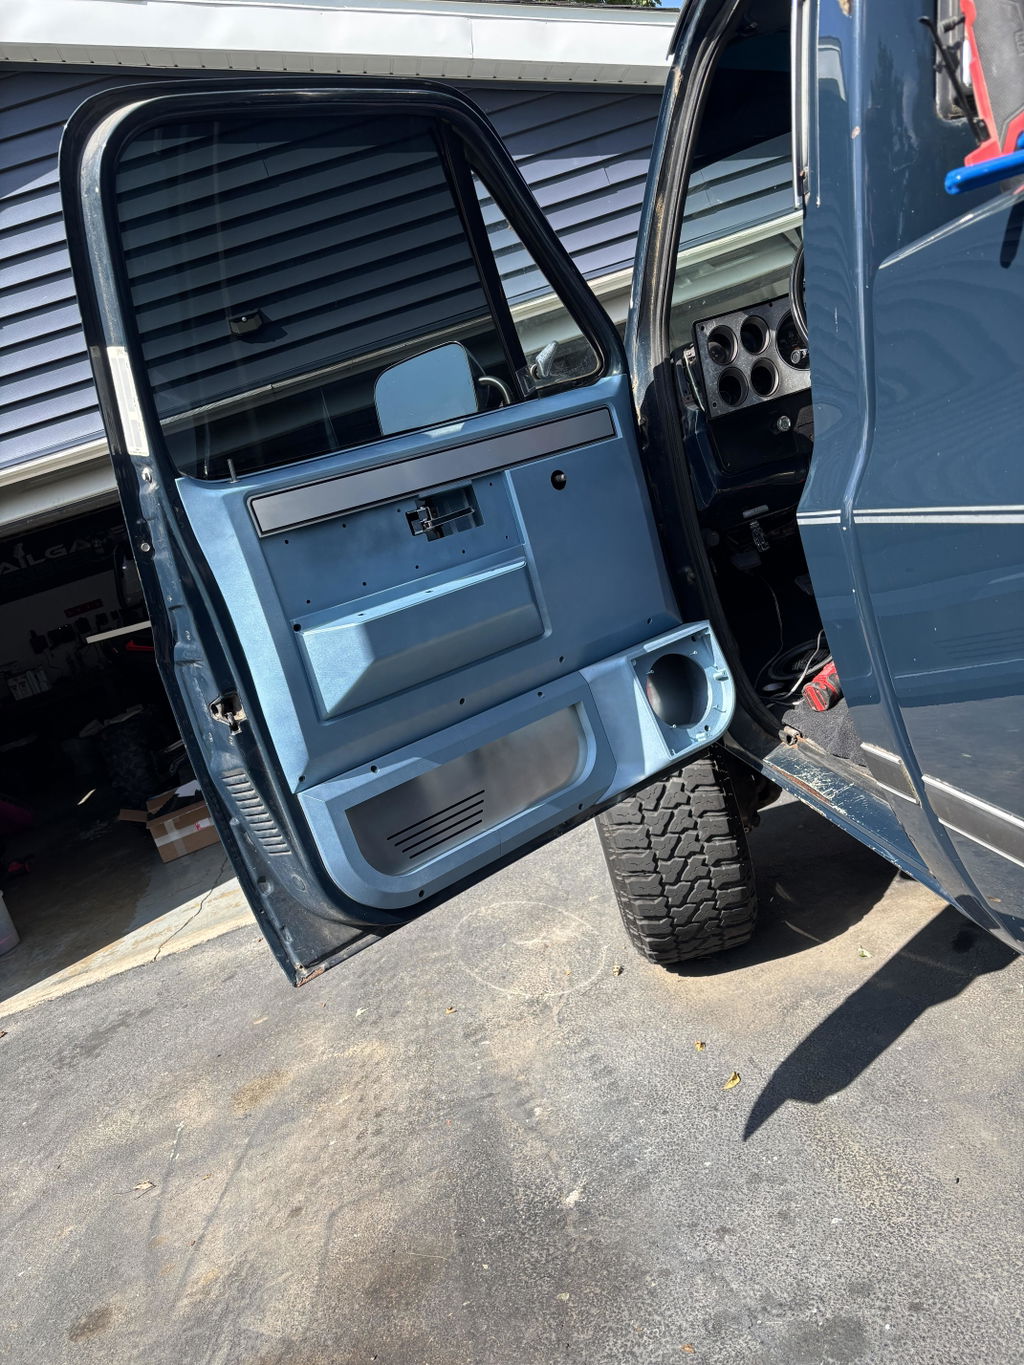
This matters even more when adding lighted lower door speaker panels. A no-cut, direct-fit panel can add a clean place for speakers and accent lighting without hacking up factory door panels, but the wiring still has to be routed and secured like it belongs there. A clean panel with a loose wire inside the door is only half a job.
Control It Like You Mean It
A simple on-off switch works for basic cargo or footwell lighting. For a more complete setup, separate the useful white lights from the accent lights. You may want courtesy lights to come on with the doors, while accent lights only run with the parking lights or by a dedicated switch.
Dimming is worth considering. Bright lights look good in a garage or at a show, but they can be distracting on a dark road. A dimmer rated for LED use lets you set the level where it looks right without being obnoxious. If you use RGB lighting, choose a controller that remembers its setting and gives you a simple way to shut it off. Nobody wants to pair a phone just to turn on a cab light.
Keep switches within reach, but do not clutter up a clean dash with random toggle switches. A console, a discreet lower-dash location, or a planned switch panel can keep controls handy without looking like an afterthought. The right location depends on how the truck is used and how original you want the interior to stay.
Match the Build to the Truck
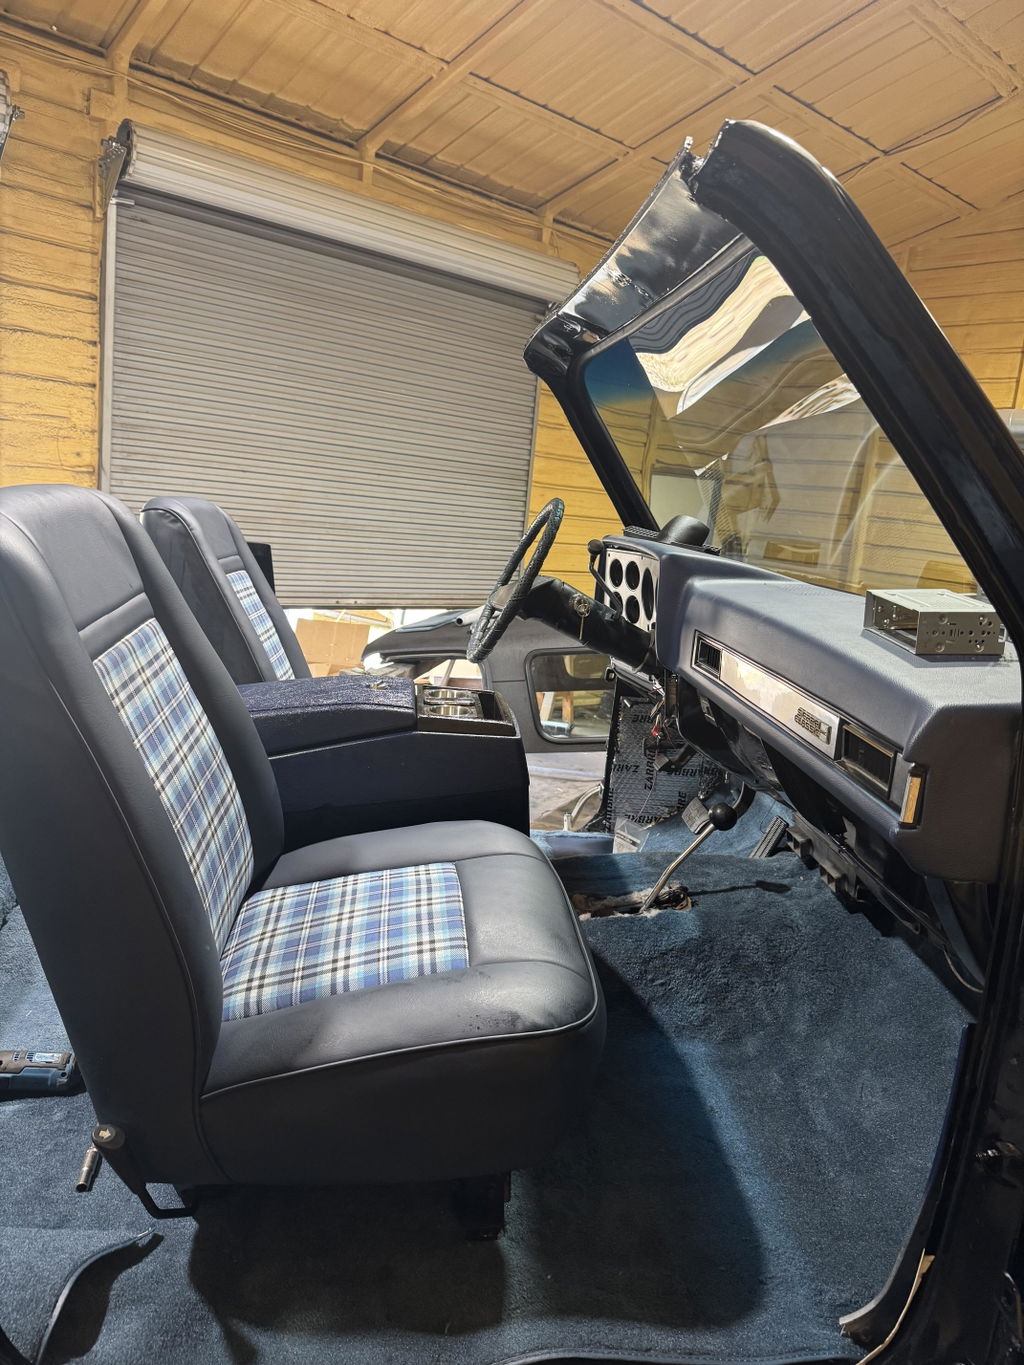
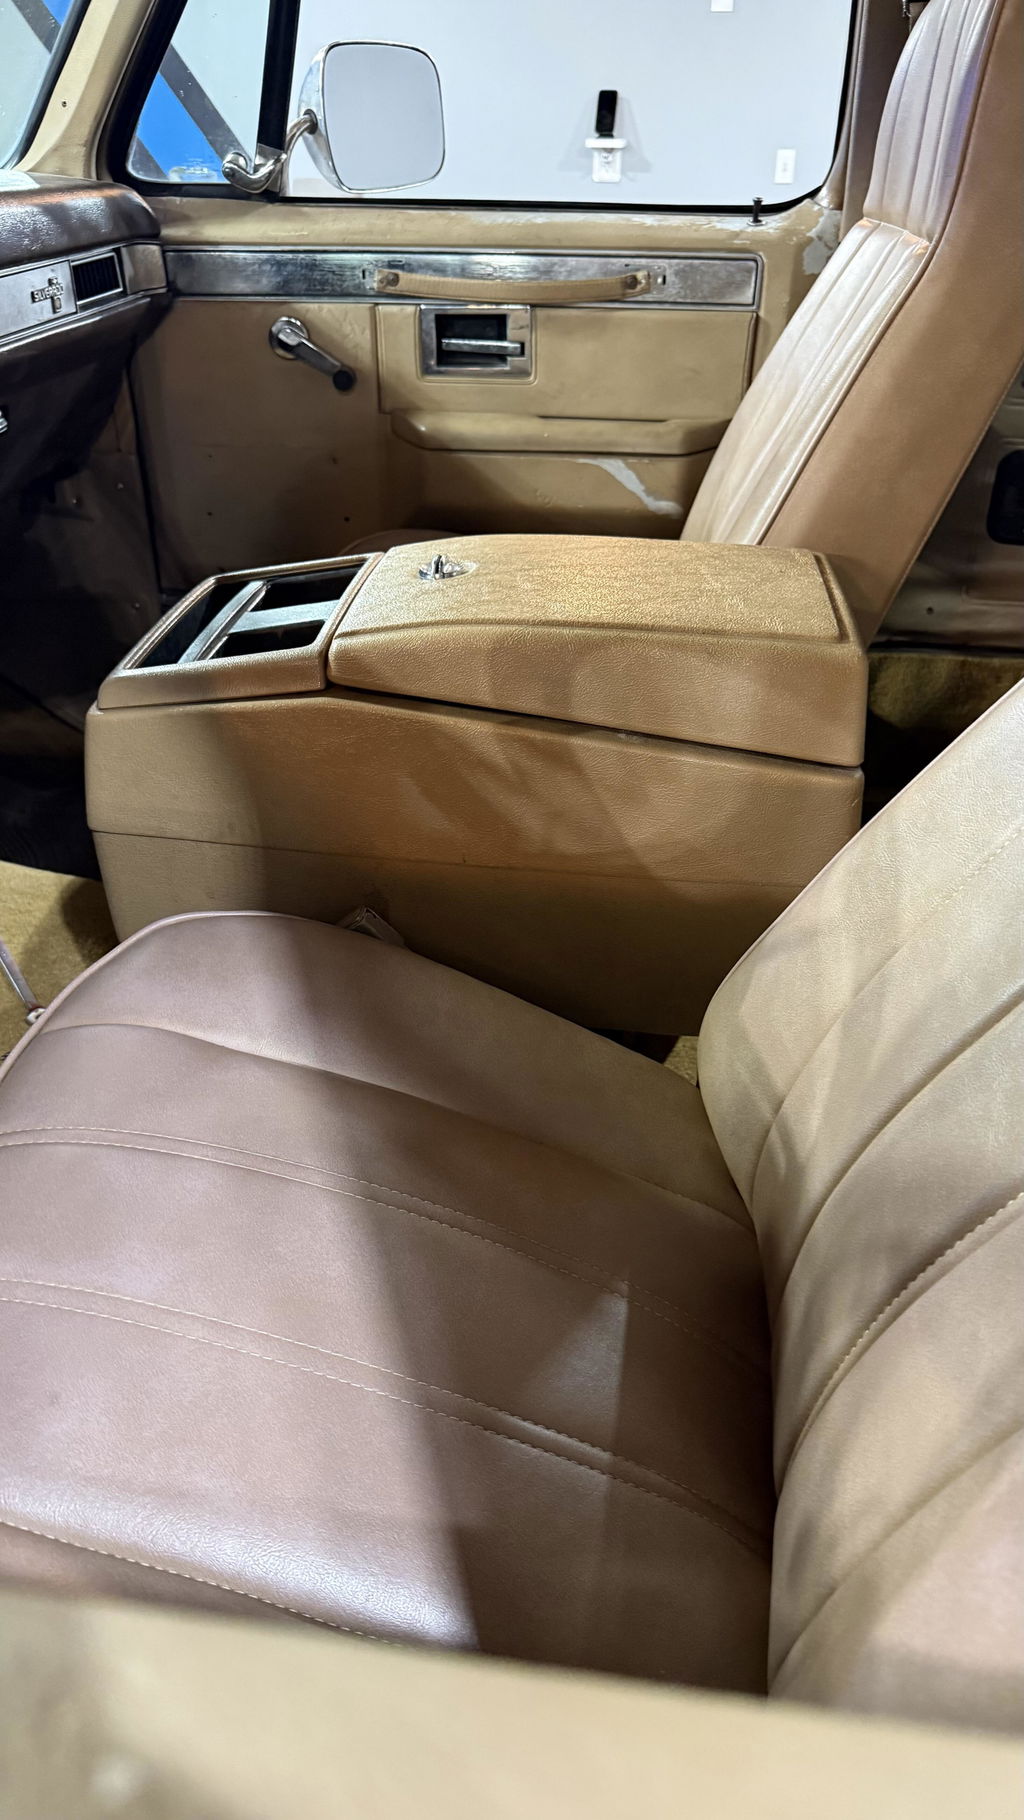
A preserved original truck calls for restraint. Upgrade the dome light, add soft footwell lighting, and keep wiring nearly invisible. A full custom interior can carry more accent lighting, especially if the seats, console, audio system, and door panels have already been updated.
Off-road and work-truck builds need a different kind of restraint. Bright floor lighting can help when loading gear or cleaning mud out of the cab, but it needs to be dependable and easy to service. Use protected wiring, secure every run, and avoid mounting anything where boots, tools, or loose cargo can tear it loose.
There is no single right setup. The right one is the one that fits how you use your Squarebody, does not butcher good original parts, and still works after a rough road, a wet boot, and a few years of opening doors.
Take your time with the layout before the first hole is drilled. Turn the lights on at night, sit in the driver’s seat, and see what reflects in the glass. If the cab feels useful, clean, and still like the truck you bought in the first place, you got the build right.